前言
開開心心學 the graph
從 subgraph 撰寫、搭建本地 graph node 到部署 subgraph
Introduction
The Graph is a decentralized protocol for indexing and querying data from blockchains, starting with Ethereum.
The graph 為一個去中心化索引協議,用於索引和查詢區塊鏈的數據。
It makes it possible to query data that is difficult to query directly.
The graph 使那些難以直接查詢的數據變成可能。
舉例來說,我們想要取得某個用戶在 Uniswap 在各個 pool 有多少資產,過去可以透過連接鏈上 endpoint、發起 RPC call、調用合約接口達成。具體來說:
- 取得總共有幾個 pool
- 取得所有 pool 的合約地址
- 遍歷所有 pool 合約取得該用戶的 balance
但是這麼做有幾個缺點:
- endpoint 的 request 時間可能較長
- 需發出多個 RPC call,畢竟可是有好幾百個 pool…
以上例子利用 the graph 的話只需要一個 query 就能達成:
|
|
可以搭配 Debank 看看結果
The graph 除了可以解決某些情境的效能瓶頸,有時候根據合約接口甚至沒辦法取得我們需要的數據,所以需要根據需求提前構建索引,the graph 則會根據規則索引鏈上數據,使用者可以透過 GraphQL API 查詢數據。
題外話, multicall 可以參考兔子哥:https://github.com/banteg/multicall.py
The graph protocol
The Graph 根據子圖描述(subgraph manifest)來學習什麼以及如何索引鏈上數據。Subgraph manifest 定義了子圖的 data source (智能合約),以及此合約要處理的 event,還有如何將 event 數據 mapping 到資料庫。
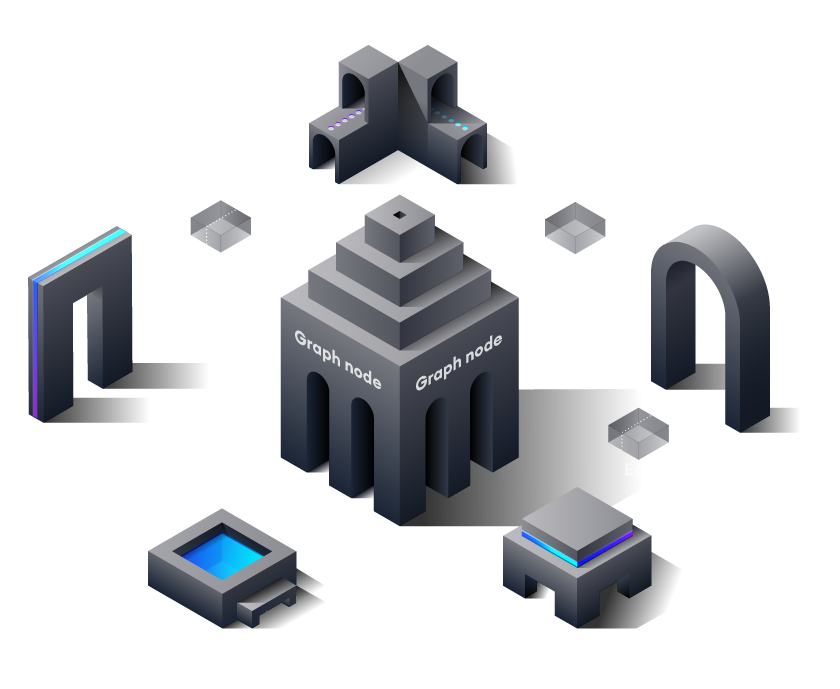
查詢及索引都是透過 graph node 完成,啟動後會連接區塊鏈節點及 IPFS。

以下舉個例子:
- 定義了一個會記錄某 token 所有 transfer event 的子圖。
- 用戶透過一筆 transaction 轉了 token 給另一個人(transfer)。
- 當合約處理此交易的時候觸發了 transfer event。
- Graph node 持續掃描區塊。
- 當某區塊包含 transfer event,graph node 會執行 mapping 處理程序,並將處理好的資料儲存。
- 透過 GraphQL API 可以查詢到索引下來的數據。
Graph node 部署
Running a graph node using Docker
https://github.com/graphprotocol/graph-node/tree/master/docker
注意,使用 Macbook M1 請見此連結重新 build image: https://github.com/graphprotocol/graph-node/tree/v0.26.0/docker#running-graph-node-on-an-macbook-m1
|
|
Running a local graph node
rust 安装
|
|
Postgresql 安装
|
|
IPFS 安裝
|
|
Start Up an IPFS Node
|
|
Create the Postgres databas
|
|
Start the Graph Node
|
|
Try your OS username as USERNAME and PASSWORD
Subgraph
以 WETH token 為例: https://github.com/ashirleyshe/subgraph/tree/main/weth-erc20
於 Subgraph studio 的部署:https://api.studio.thegraph.com/query/27930/weth-subgraph/v0.1.1/graphql
需要寫的部分:
subgraph.yaml: subgraph manifestschema.graphql: GraphQL schema 定義子圖資料(entity)如何儲存及如何透過 GraphQL queryAssemblyScript Mappings: AssemblyScript code 將 event data 轉成 schema 中的 entity
Reference: https://docs.openzeppelin.com/subgraphs/0.1.x/
使用 Openzeppelin subgraph library
當要支援多個 erc20 時,編寫 manifest 可以藉由套件完成(@amxx/graphprotocol-utils):
-
先準備config,裡面填寫 datasource 也就是 token address,範例:https://github.com/OpenZeppelin/openzeppelin-subgraphs/blob/main/configs/top-erc20.json
-
生成 schema 及 manifest
|
|
部署 subgraph
package.json
在 script 中增加 “create-local” “remove-local” “deploy-local” 方便後續部署
|
|
|
|
完成 subgraph 部署后,便會從某個區塊開始構建索引
Checking Subgraph health
https://thegraph.com/docs/hostedservice/deploy-subgraph-hosted#checking-subgraph-health
subgraph sync status 可以在這邊看到:預設 port 8030/subgraph
Example query:
|
|
Performance Improvement
-
Two Simple Subgraph Performance Improvements
-
https://medium.com/edge-node-engineering/two-simple-subgraph-performance-improvements-a76c6b3e7eac
-
Using immutable entities and
Bytesas the id
-
-
Graph Node Environment Variables
-
CallHandler
- The graph 官方推薦使用 EventHandler 就好,使用 CallHandler 可能導致同步效率緩慢。
-
Substreams
- https://thegraph.com/blog/substreams-parallel-processing
- 原先的 RPC-based Subgraphs 使用 linear indexing model (一個 event 處理完才能處理下一個)
- Substreams take things even further by enabling massively parallelized streaming data.
一些坑
HTTP error creating the subgraph: ECONNREFUSED
|
|
→ localhost 改成 127.0.0.1 即可
Failed to get entities from store: column c.block$ does not exist
|
|
→ graph node bug 新版本已修復
https://github.com/graphprotocol/graph-node/issues/3553
graph-ts graph-cli 版本
每個 subgraph 要額外定義,每個版本可能不一樣TT
Reference
- https://thegraph.com/docs/en/about/introduction/
- https://github.com/graphprotocol/graph-node
- https://thegraph.academy/developers/defining-a-subgraph/
